This tutorial will show you how to set up a JetHost PRO email account on Windows 8
We will be using a test email account email@yourdomain.com. Of course, you will have your own email address so substitute that in the appropriate places.
NOTE: Before proceeding, make sure you have a mailbox created.
NOTE: POP3 protocol is not supported by Windows 8 default Mail app. If you need to configure mailbox using POP3, it is advised to use non-native email clients - Microsoft Outlook, Thunderbird, etc.
To create a new account, hit  and click on Mail app on the Start Screen: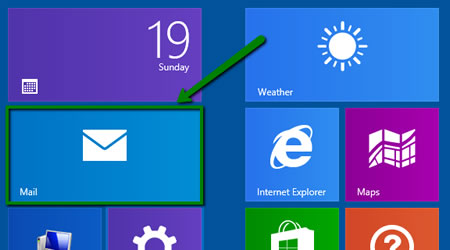
NOTE: start screen may look different on your side, and Mail app might be missing. Thus, feel free to use Search charm to find the app.
2. When inside, hover over lower right corner of the screen. Once the Charms Bar is appears, click on Settings > Accounts: 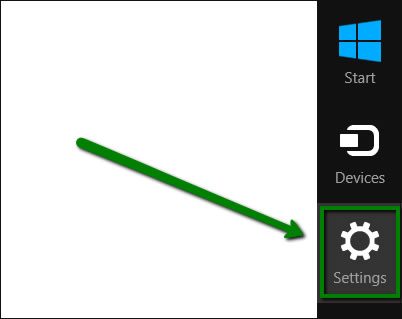
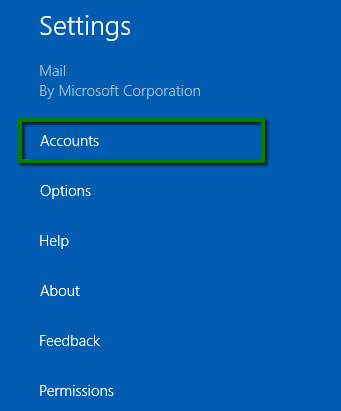
3. Click on Add an account > Other account option: 
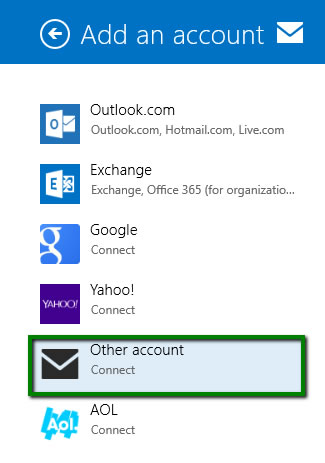
4. Choose IMAP and click on Connect. On the next page hit Show more details: 
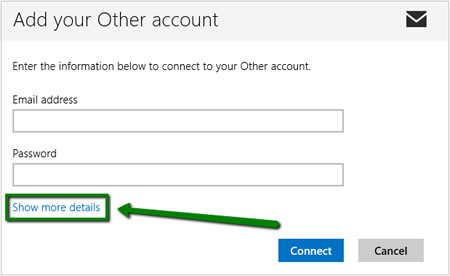
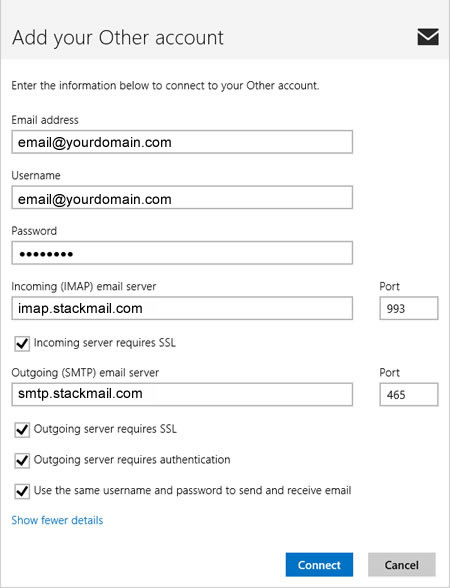
5. Enter the following settings in corresponding fields:
- Email address: full email address
- Username: full email address
- Password: password for this email account
- Incoming (IMAP) email server: imap.stackmail.com
- Outgoing (SMTP) email server: smtp.stackmail.com
Also make sure that the following options are checked:
- Incoming server requires SSL
- Outgoing server requires SSL
- Outgoing server requires authentication
- Use the same username and password to send and receive email
NOTE: if you would like to use alternative non-SSL ports, make sure corresponding boxes are unchecked. 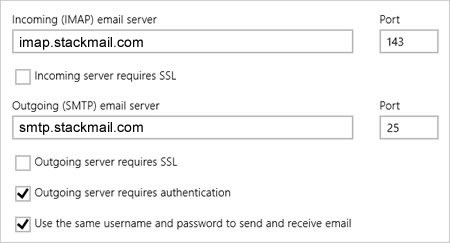
6. Once finished, click on Connect.
That's it!