This tutorial will show you how to set up a JetHost PRO email account on a Windows Mobile device.
We will be using a test email account email@yourdomain.com. Of course, you will have your own email address so substitute that in the appropriate places.
NOTE: Before proceeding, make sure you have a mailbox created.
1. Swipe left to go to Menu, scroll down and tap on Settings: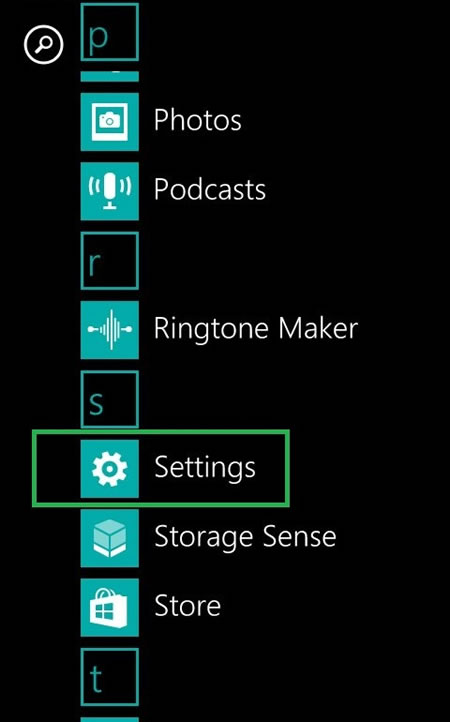
2. Tap on email + accounts menu and click add an account button: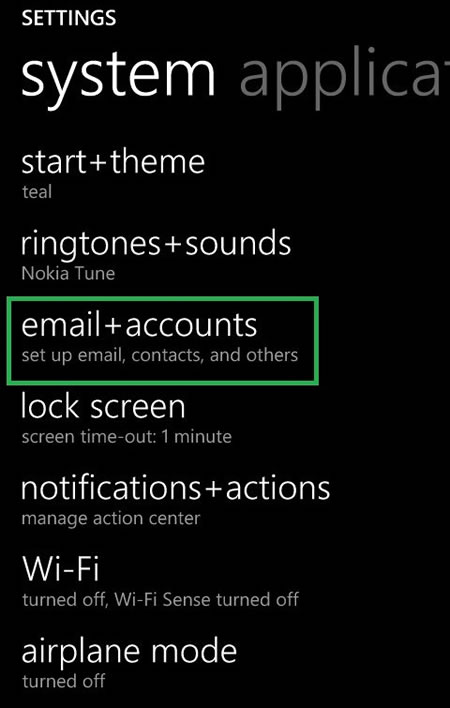

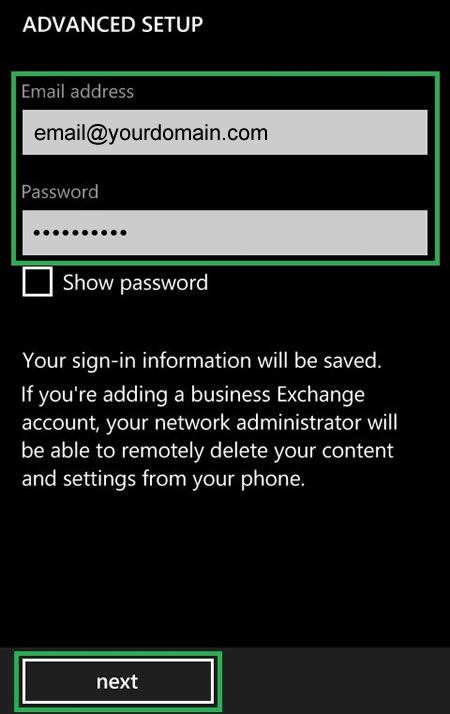
3. Choose advanced setup section, enter your Email address and Password and tap next: 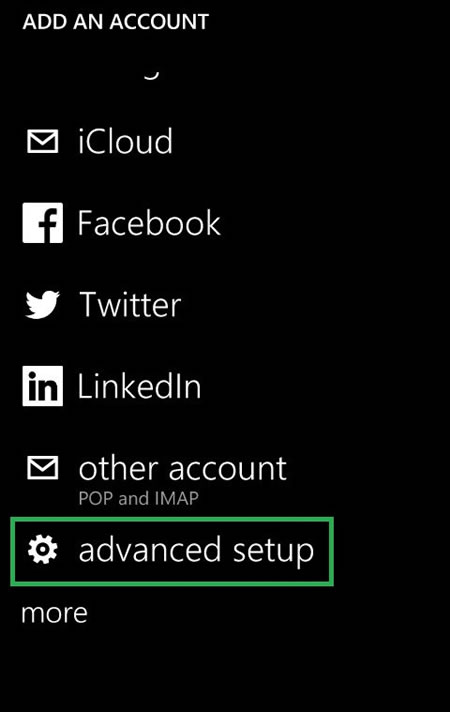
4. Select Internet email to configure POP/IMAP account: 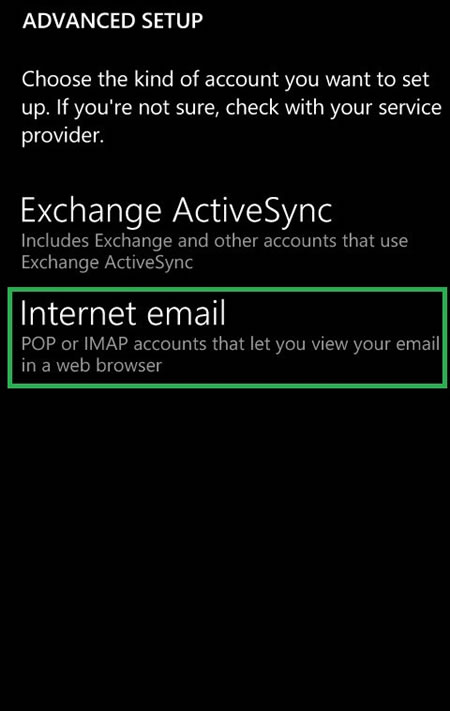
5. Enter the Account Name (which is how your account will be identified) and Your Name (which will appear in your emails):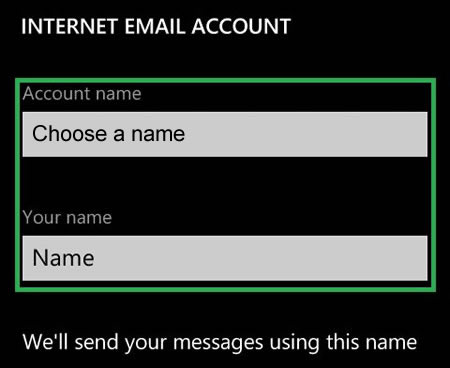
6. On the next screen you need to enter the details for your email address:
Incoming email server: pop3.stackmail.com or imap.stackmail.com (recommended)
Account type: POP3 or IMAP
User name: your full email address
Password: password for your email account
Outgoing (SMTP) email server: smtp.stackmail.com
NOTE: it is preferable to use IMAP as the emails will not be downloaded and stored on your device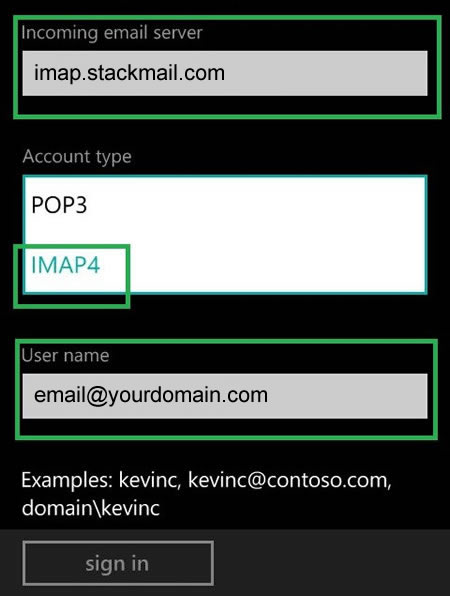
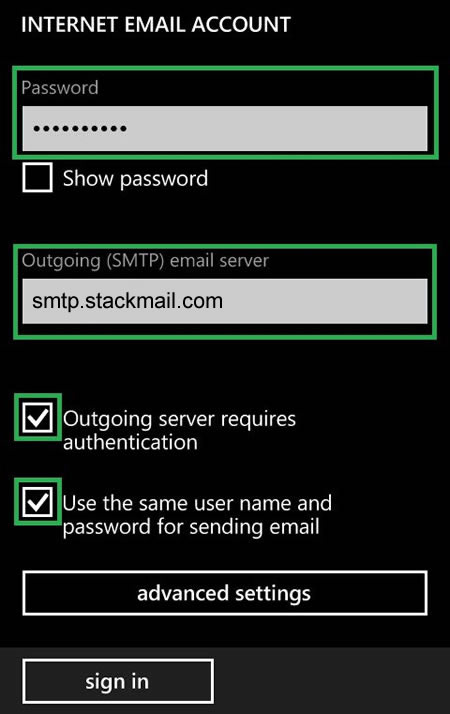
Please make sure to put ticks next to Outgoing server requires authentication and Use the same user name and password for sending email options.
When you tap advanced settings, you will be able to configure SSL-encrypted connection for your incoming and outgoing mail. Check the corresponding fields if needed: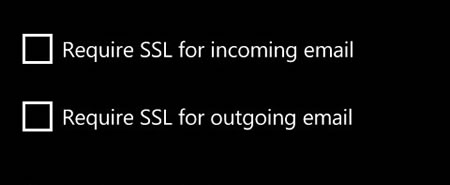
The last step would be to specify timeframes for your email account updates and the ready emails to be displayed:
Download new content option allows to specify how often the emails on your device will be synchronised with your email account:
Download email from option allows to select the following time ranges: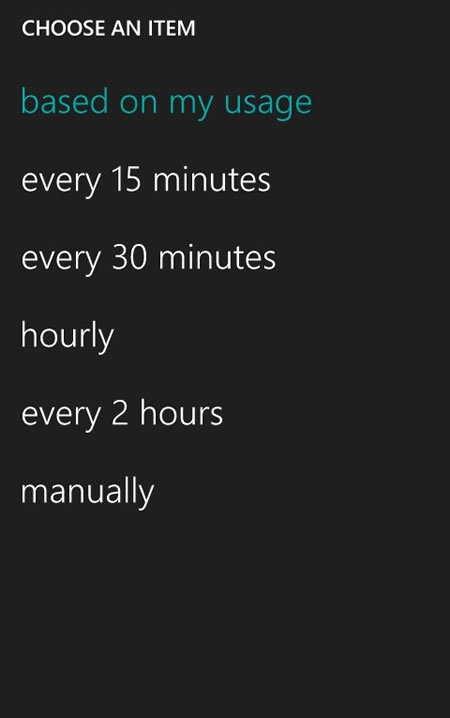
Download email from option suggests the following time ranges: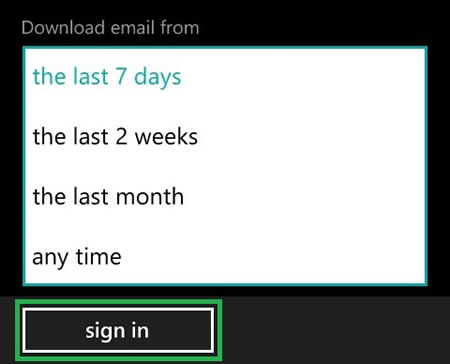
Once all the details are provided, tap sign in. It may take a few minutes for your email account to be created and synchronized.
Corresponding title will be created on your desktop automatically.
That is it!